Worm composting — vermicomposting — is the fastest, most space-efficient, and highest-quality composting method available to home gardeners. Instead of waiting months for a traditional compost pile to break down, specialized composting worms process kitchen scraps into finished worm castings in as little as 2 to 3 months. The resulting castings are not just compost — they are a supercharged soil amendment that outperforms traditional compost in virtually every measurable way.
Worm castings contain 5 to 10 times more available nitrogen, phosphorus, and potassium than typical garden compost. They are teeming with beneficial microorganisms that suppress plant diseases, improve soil structure, and enhance nutrient availability. Research has consistently shown that even small additions of worm castings to potting mixes and garden soil produce measurable improvements in plant growth, flowering, and fruit production.
Best of all, worm composting works indoors. A well-managed worm bin produces no odor, takes up less space than a kitchen trash can, and processes 3 to 5 pounds of food scraps per week — the perfect solution for apartment dwellers, winter composting, and anyone who wants the finest quality compost without a backyard pile.
Key Takeaways
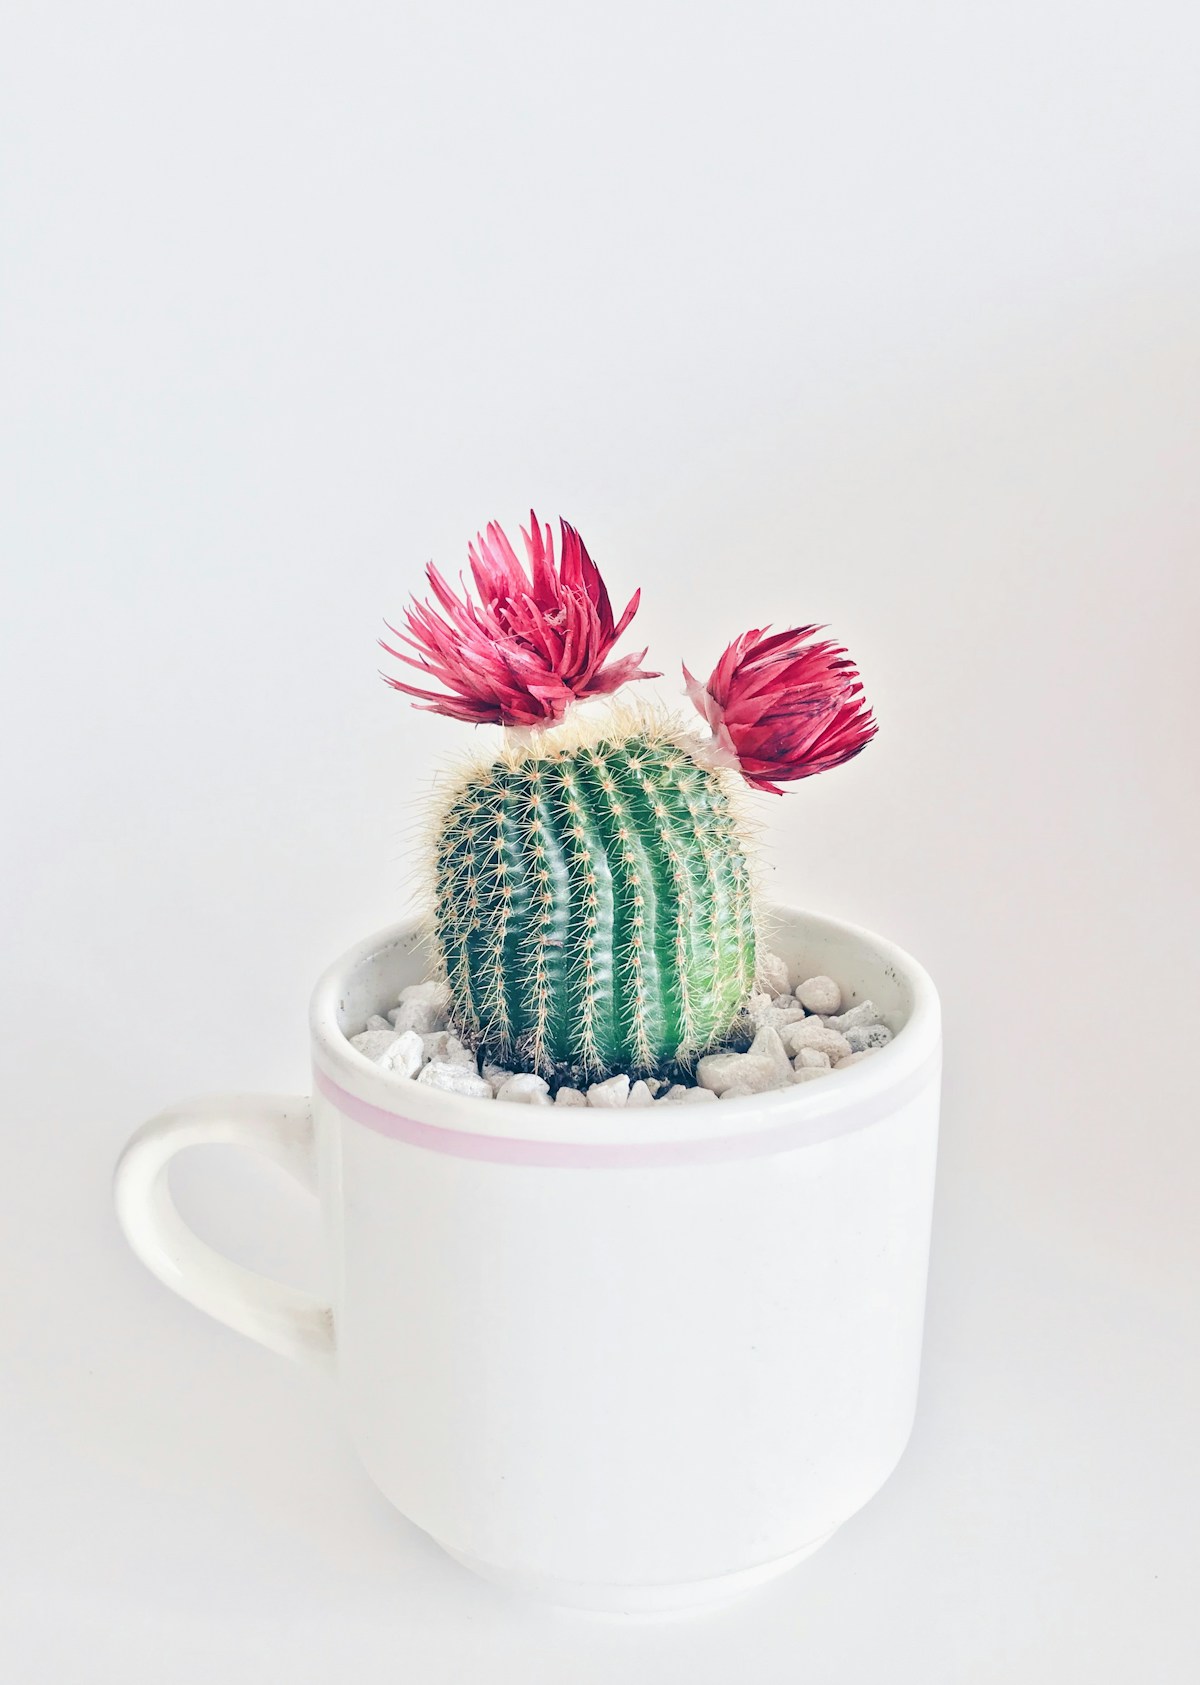
- Red wiggler worms (Eisenia fetida) are the species used for composting — they are not the same as earthworms found in garden soil
- A worm bin processes 3 to 5 pounds of kitchen scraps per week and produces rich castings in 2 to 3 months
- Properly maintained worm bins have no unpleasant odor — a bad smell indicates overfeeding or moisture problems
- Worm castings are the highest-quality compost available, outperforming traditional compost in nutrient content and beneficial microbial activity
- A basic worm bin setup costs $30 to $60 and fits under a kitchen sink, in a closet, or on a balcony
Setting Up Your Worm Bin
Choosing a Container
Any opaque container with a lid and drainage works as a worm bin. The most common DIY option is a plastic storage tote (10 to 18 gallon capacity) with holes drilled in the bottom for drainage and in the upper sides and lid for ventilation. Commercial worm bins (stackable tray systems like the Worm Factory 360 or Can-O-Worms) simplify harvesting by allowing worms to migrate upward through stacking trays as lower trays fill with finished castings.
For a household of 2 to 4 people, a bin with roughly 8 to 10 square feet of surface area (a standard 18-gallon tote) handles the weekly food scrap output comfortably. Worms process food at the surface — surface area matters more than depth. A wide, shallow bin works better than a tall, narrow one.
Preparing Bedding
Worms need bedding material that serves as both their habitat and a carbon source. Shredded newspaper is the most accessible bedding — tear newspaper into 1-inch strips and fluff them loosely to fill the bin about three-quarters full. Moisten the bedding until it feels like a damp sponge — wet enough to hold together when squeezed but not dripping water.
Other excellent bedding materials include shredded cardboard (corrugated works well), coconut coir (rehydrated compressed blocks), aged leaves, and shredded office paper (avoid glossy or colored paper). A handful of garden soil or finished compost mixed into the bedding introduces beneficial microorganisms that help the decomposition process.
Getting Your Worms
Red wiggler worms (Eisenia fetida) are the composting species. They are not the same as the large earthworms you find in garden soil — earthworms will not survive in a bin. Purchase red wigglers from a vermicomposting supplier, bait shop (they are sometimes sold as bait under the name red worms), or a fellow worm composter. Start with about 1 pound of worms (roughly 1,000 individuals) for a standard household bin.
Place the worms on top of the moistened bedding and leave the lid slightly ajar under a light source for the first day. The worms are photophobic (light-avoiding) and will burrow into the bedding to escape the light, establishing themselves in their new home. Do not feed for the first 3 to 5 days — let the worms acclimate to the bedding before introducing food.
Feeding Your Worms
What Worms Eat
Worms eat virtually all fruit and vegetable scraps: peels, cores, rinds, wilted produce, coffee grounds and filters, tea bags (remove staples), crushed eggshells (provide calcium that worms need), small amounts of bread and grains, and any non-oily plant-based food waste. Smaller pieces decompose faster — chopping or blending food scraps before adding them accelerates processing.
What to Avoid
Do not feed worms meat, fish, dairy, oily foods, or processed foods with high fat content — these create odors and attract pests. Citrus peels and onions in large quantities can make the bin too acidic — small amounts are fine but do not make them a large portion of the diet. Avoid spicy peppers (capsaicin is irritating to worms) and any food treated with pesticides.
How Much to Feed
Worms eat roughly half their body weight per day. One pound of worms processes about 3 to 4 pounds of food scraps per week. Start conservatively — feed a small amount, wait until it is mostly consumed before adding more. The biggest beginner mistake is overfeeding, which causes odor problems and can create anaerobic conditions that harm worms.
Bury food under the bedding rather than placing it on top. This discourages fruit flies and keeps the surface tidy. Rotate feeding locations around the bin so food is distributed evenly.
Maintaining Your Worm Bin
Moisture Management
The bin should stay consistently moist — like that wrung-out sponge. Too dry and worms cannot breathe through their skin (they require moisture for gas exchange). Too wet and the bin becomes anaerobic, producing foul odors. If the bin seems too wet, add dry shredded newspaper or cardboard. If too dry, mist with water or add wetter food scraps like melon rinds.
Temperature
Red wigglers thrive between 55 and 77 degrees Fahrenheit. They survive temperatures from 40 to 85 degrees but become less active outside their comfort range. Below freezing kills them. Above 90 degrees is also lethal. Indoor locations (under the kitchen sink, in a closet, in a garage) naturally maintain appropriate temperatures in most climates. If the bin is outdoors, move it to a sheltered location during temperature extremes.
Troubleshooting Odors
A healthy worm bin smells like fresh earth — pleasant and mild. If you detect unpleasant odors: ammonia smell means too much nitrogen-rich food relative to bedding — add more dry browns and reduce feeding. Rotten smell means anaerobic conditions — the bin is too wet, overfed, or needs more ventilation. Add dry bedding, reduce feeding, and ensure drainage holes are clear. Properly managed worm bins truly do not smell — if your housemate objects, you can fix the problem quickly.
Dealing With Fruit Flies
Fruit flies are the most common worm bin nuisance. Prevent them by always burying food under bedding, freezing food scraps for 24 hours before adding (kills fly eggs), and maintaining a layer of dry bedding on the surface. If fruit flies appear, place a small cup of apple cider vinegar with a drop of dish soap near the bin — flies are attracted to the vinegar and drown. Reduce feeding until the population subsides.
Harvesting Worm Castings
When to Harvest
Castings are ready when the bin contents are dark brown to black, crumbly, and smell like rich earth with no identifiable food scraps or bedding remaining. This typically takes 2 to 4 months depending on worm population, temperature, and feeding rate. The material volume will have reduced to roughly one-third of the original bedding and food input.
The Migration Method (Easiest)
Push all the bin contents to one side. Fill the empty half with fresh, moist bedding and begin feeding only in the new side. Over 2 to 4 weeks, worms migrate to the fresh food and bedding, leaving nearly worm-free castings on the old side. Scoop out the finished castings, then repeat the process when the new side is ready.
The Light Method (Fastest)
Dump the bin contents onto a tarp or plastic sheet in bright light. Worms immediately burrow away from light toward the center of each pile. Wait 10 to 15 minutes, then scrape away the outer layer of castings (now worm-free). Wait another 10 minutes as worms burrow deeper, and scrape again. Repeat until you have a small ball of concentrated worms, which you return to a freshly prepared bin. This method takes about an hour but provides the cleanest separation.
Using Worm Castings
Potting mix amendment: Add 10 to 20 percent worm castings to any potting mix for a significant growth boost. Castings improve moisture retention, nutrient availability, and beneficial microbial activity.
Garden top dressing: Spread a quarter-inch to half-inch layer around plants. The nutrients are gentle enough to apply directly without risk of burning even sensitive seedlings.
Seed starting: Mix 25 percent castings into seed starting mix for stronger, healthier seedlings.
Worm casting tea: Steep a handful of castings in a gallon of water for 24 hours, strain, and use as a liquid fertilizer. Similar to compost tea but even more nutrient-dense.
Frequently Asked Questions
Will worms escape from the bin?
Healthy, happy worms stay in the bin where the food is. Worms may try to escape during the first few days as they acclimate — leaving a light on over the bin discourages this. If worms are trying to escape after the acclimation period, conditions in the bin are wrong (too wet, too dry, too acidic, overheated). Fix the conditions and they settle down.
Can I use garden earthworms instead of red wigglers?
No. Garden earthworms (Lumbricus terrestris and similar species) are deep burrowers that need soil to survive. They will not thrive or reproduce in a bin environment. Red wigglers are surface-dwelling decomposers specifically adapted to processing concentrated organic matter in confined spaces. They are different species with different biology.
How fast do worms multiply?
Under ideal conditions, a red wiggler population doubles approximately every 3 to 4 months. Starting with 1 pound (about 1,000 worms), you will have 2,000 in 3 to 4 months and 4,000 within a year. The population self-regulates to match available food and space — overpopulated bins see reproduction slow naturally.
What happens if I go on vacation?
Worms can go 2 to 3 weeks without fresh food if the bin is well-established with adequate bedding. Before leaving, add a large feeding, ensure moisture is adequate, and add extra bedding. For longer absences, ask someone to check the bin weekly and add food if needed.
Does a worm bin attract pests?
A properly maintained bin attracts no pests. Fruit flies are the only common nuisance, and they are prevented by burying food and maintaining a dry bedding layer on top. Rodents cannot access enclosed bins. Ants indicate the bin is too dry — add moisture and the ants leave.